Knowledgebase: Getting Started
How to Setup Contacts and Sub-Accounts
Posted by KB Editor on 01 June 2017 10:54 AM

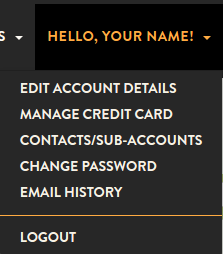
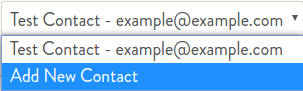
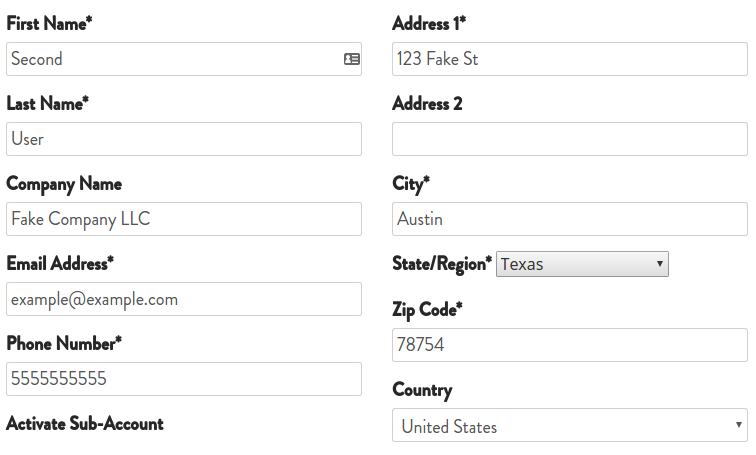
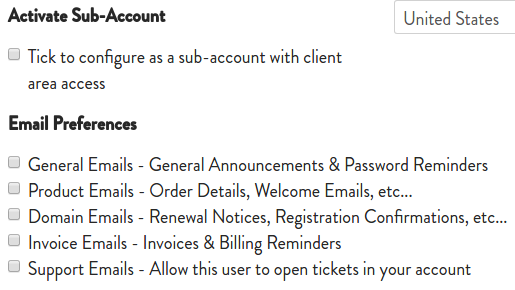
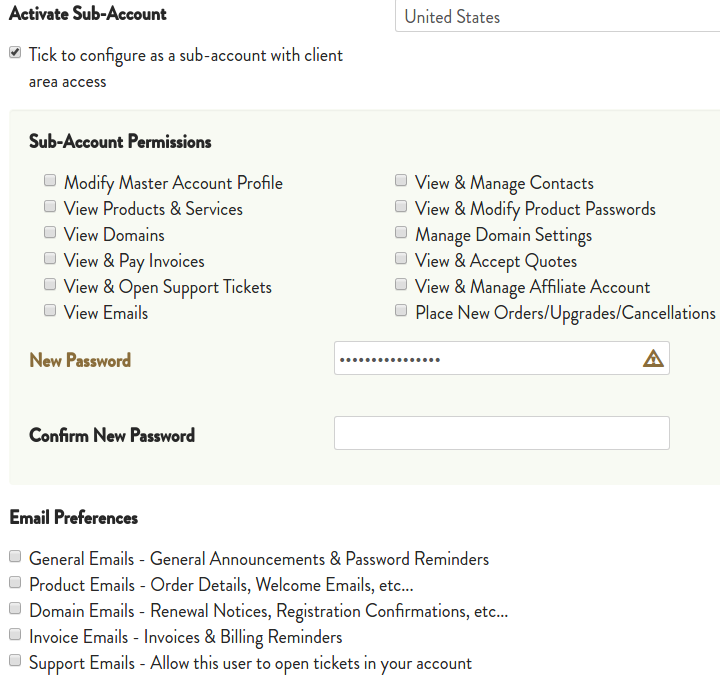
Contacts can only receives email notifications for specified types of emails, and cannot login to the billing account. Sub-Accounts receive email notifications for specified types of emails, can login to the billing account, and can only access what permissions are specified/checked.  Sub-Accounts are useful when you have multiple people or departments managing the same account.  For example, you may want to give your accounting department access to pay for invoices and place orders. Alternatively, if you hire a developer, they can be given access to submit tickets without having access to the rest of the billing account.

To create a contact or sub-account:

  1. Log in to your Account at https://customers.asmallorange.com
  2. In the upper right hand corner, click on the drop down menu labeled Hello, Your Name
  3. Select the Contacts/Sub-Accounts option
  4. Use the dropdown menu under the heading Contacts/Sub-Accounts to select Add New Contact
  5. Fill out the details of the person you would like to have a Contact or Sub-Account
  6. After filling out the details, choose if you want the account to be an active Sub-Account and what Permissions the account will have by toggling the checkbox for Tick to configure as a sub-account with client area access
    • Contacts
    • Sub-Accounts
  7. Click on Save Changes  to create the account

 Please contact us via Live Support or submit a support ticket in your billing account if you run into any issues creating contacts or sub-accounts in your billing portal.

(0 vote(s))
This article was helpful
This article was not helpful

Comments (0)
Post a new comment
 
 
Full Name:
Email:
Comments:
Help Desk Software by Kayako fusion
ERROR: This domain name (kb.asmallorange.com), does not match the domain name in the license key file help.asmallorange.com.

For assistance with your license, please contact the Kayako support team: https://support.kayako.com